Applying microcement to floors is its most common use. The result is the creation of a smooth surface, without joints, with high durability, which is also easy to clean. The architectural style can vary, depending on the technique, the color, and the surrounding space.
Preparing the base layer or substrate
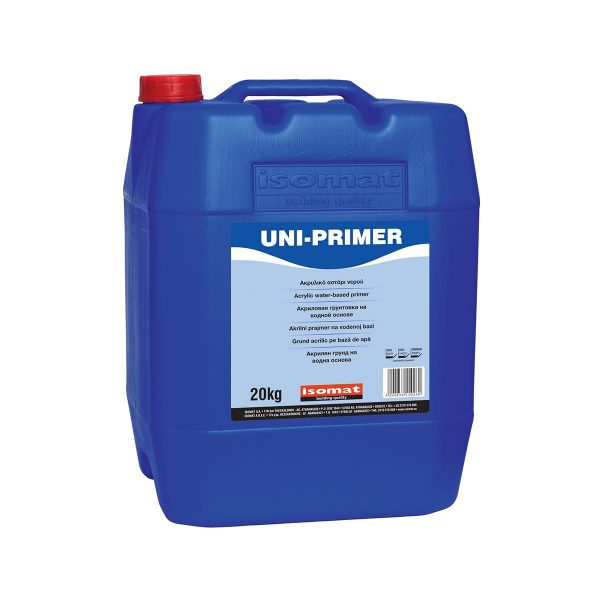
- Initially, you need to clean the base layer very well, removing dust, oils, and loose materials. Any imperfections like cracks, gaps, etc., must be repaired. For absorbent surfaces, like walls, concrete, drywall, or plaster, before you apply the microcement, you need to prime the surface with the acrylic primer UNI-PRIMER.
- Non-absorbent surfaces like old tiles or mosaic should be primed with the ISOMAT SUPERGRUND primer. After 2–3 hours, depending on the weather, and after the primer is completely dry, you apply the microcement.
Applying the microcement
- Add the DUROCRET-DECO FLEX in water while you are stirring, until you achieve a mixture with the desired workability. For the correct preparation of the material, follow the instructions on the packaging carefully.
- Protect the lower part of the wall with paper tape. Apply the material with a 10 mm toothed spatula. On the “combed” surface of the DUROCRET-DECO FLEX, apply a 161 g/m2 reinforcing fiberglass mesh, and box it with the spatula’s flat side, in order to create a relatively smooth surface.
- After 24 hours, the hardened surface of the DUROCRET-DECO FLEX is primed with the UNI-PRIMER acrylic primer.
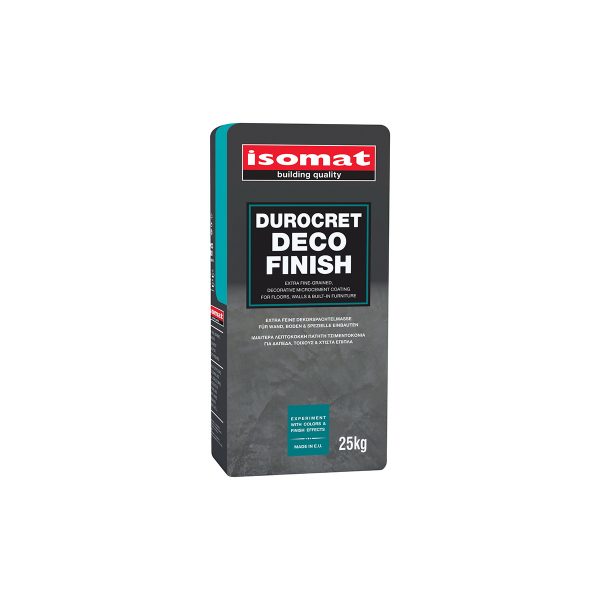
- While the primer is still wet, apply or DUROCRET-DECO FINISH in a thin layer of about 1.5 mm, in the color of your choice, to create the look you want.
- After 24 hours, sand the surface with a sandpaper lightly, to make it completely smooth. 2–3 days after you’ve completed the application, and only after the surface is completely dry, clean it well with a highly absorbent broom.
- Finish it with protective varnishes that will give it your desired final look.

Waterproofing and protecting the microcement
2–3 days after the application is complete, and only after the surface is completely dry, you can protect it with the two-component transparent polyurethane varnish VARNISH-PU 2K (satin), or the water-based two-component transparent polyurethane varnish VARNISH-PU 2KW (in satin-matt). Both varnishes are applied in two layers, and the second layer is applied 4–24 hours after the first, and only after it has dried.
For the best varnish application, it’s suggested that after the painting roll is soaked in the varnish, it should be drained in the paint tray, and then applied to the surface.
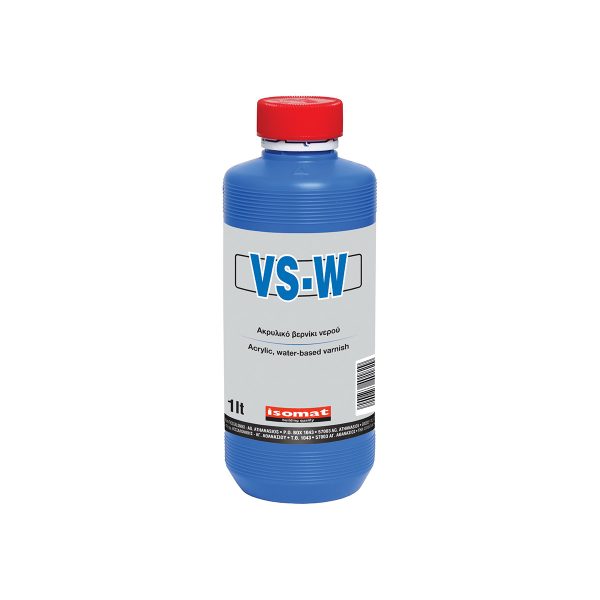
In general, the VARNISH-PU 2K varnish darkens the surface. If that’s not desired, it’s suggested that before the varnish is applied, the surface is covered with one layer of the water-based acrylic varnish VS-W. The VARNISH-PU 2K varnish is applied 24 hours later.


